2. Usage
2.1. Annotation Mode
2.1.1. Launch napari
napari
2.1.2. Load dataset
Plugins > napari-PHILOW > Annotation Mode
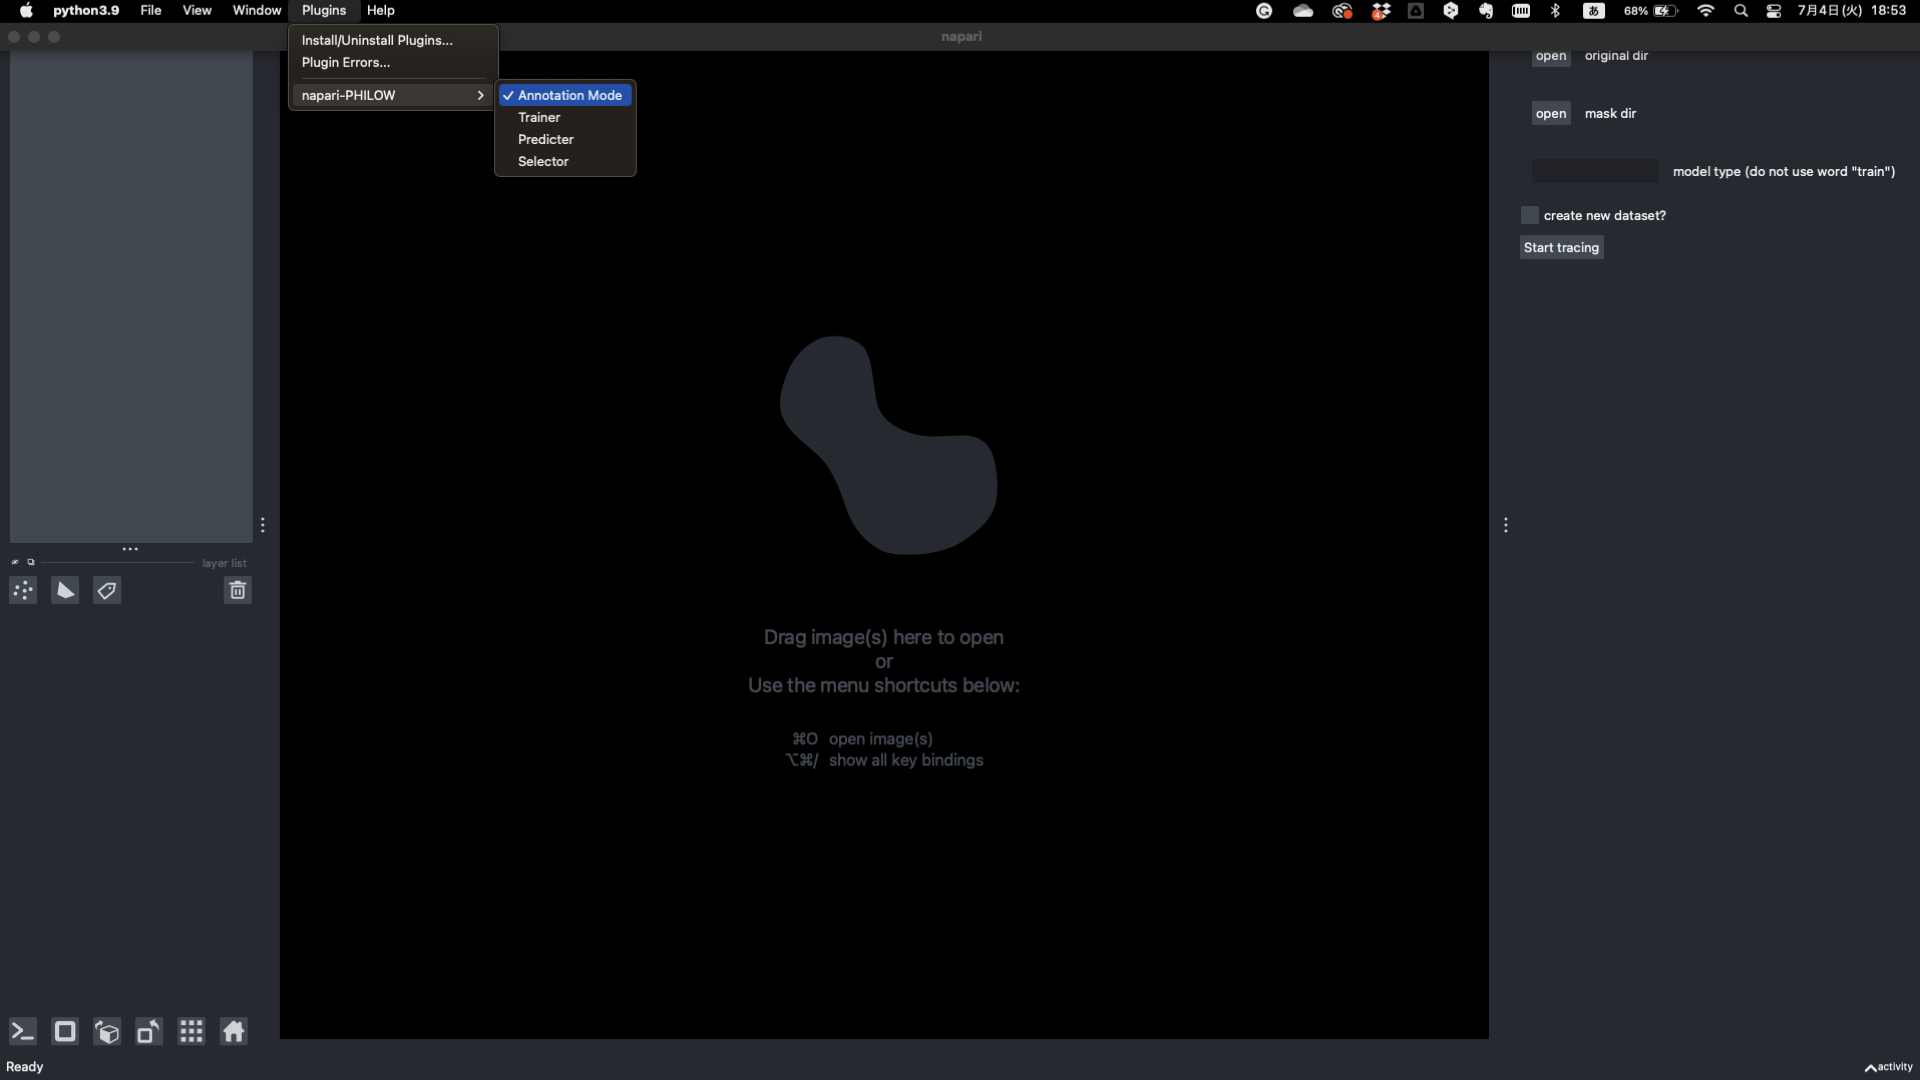
Select original dir
Note
All slices must be in separate PNG and must be sequentially numbered (e.g. 000.png, 001.png …).
Select mask dir
Note
To resume from the middle of the annotation, specify here the name of the directory containing the mask image. The directory must contain the same number of files with the same name as the original image. If you are starting a completely new annotation, you do not need to specify a directory. The directory for mask is automatically created and blank images are generated and stored.
Enter a name for the label or model you want to create
Note
This name will be used as the directory name of the newly created mask dir if no mask dir is specified, and as the name of the csv file for training dataset management.
Check if you want to create new dataset (new model)
Note
When checked, if there is already a csv file for training dataset management, a new csv file with one sequential number will be generated.
Start tracing
2.1.3. Create labels
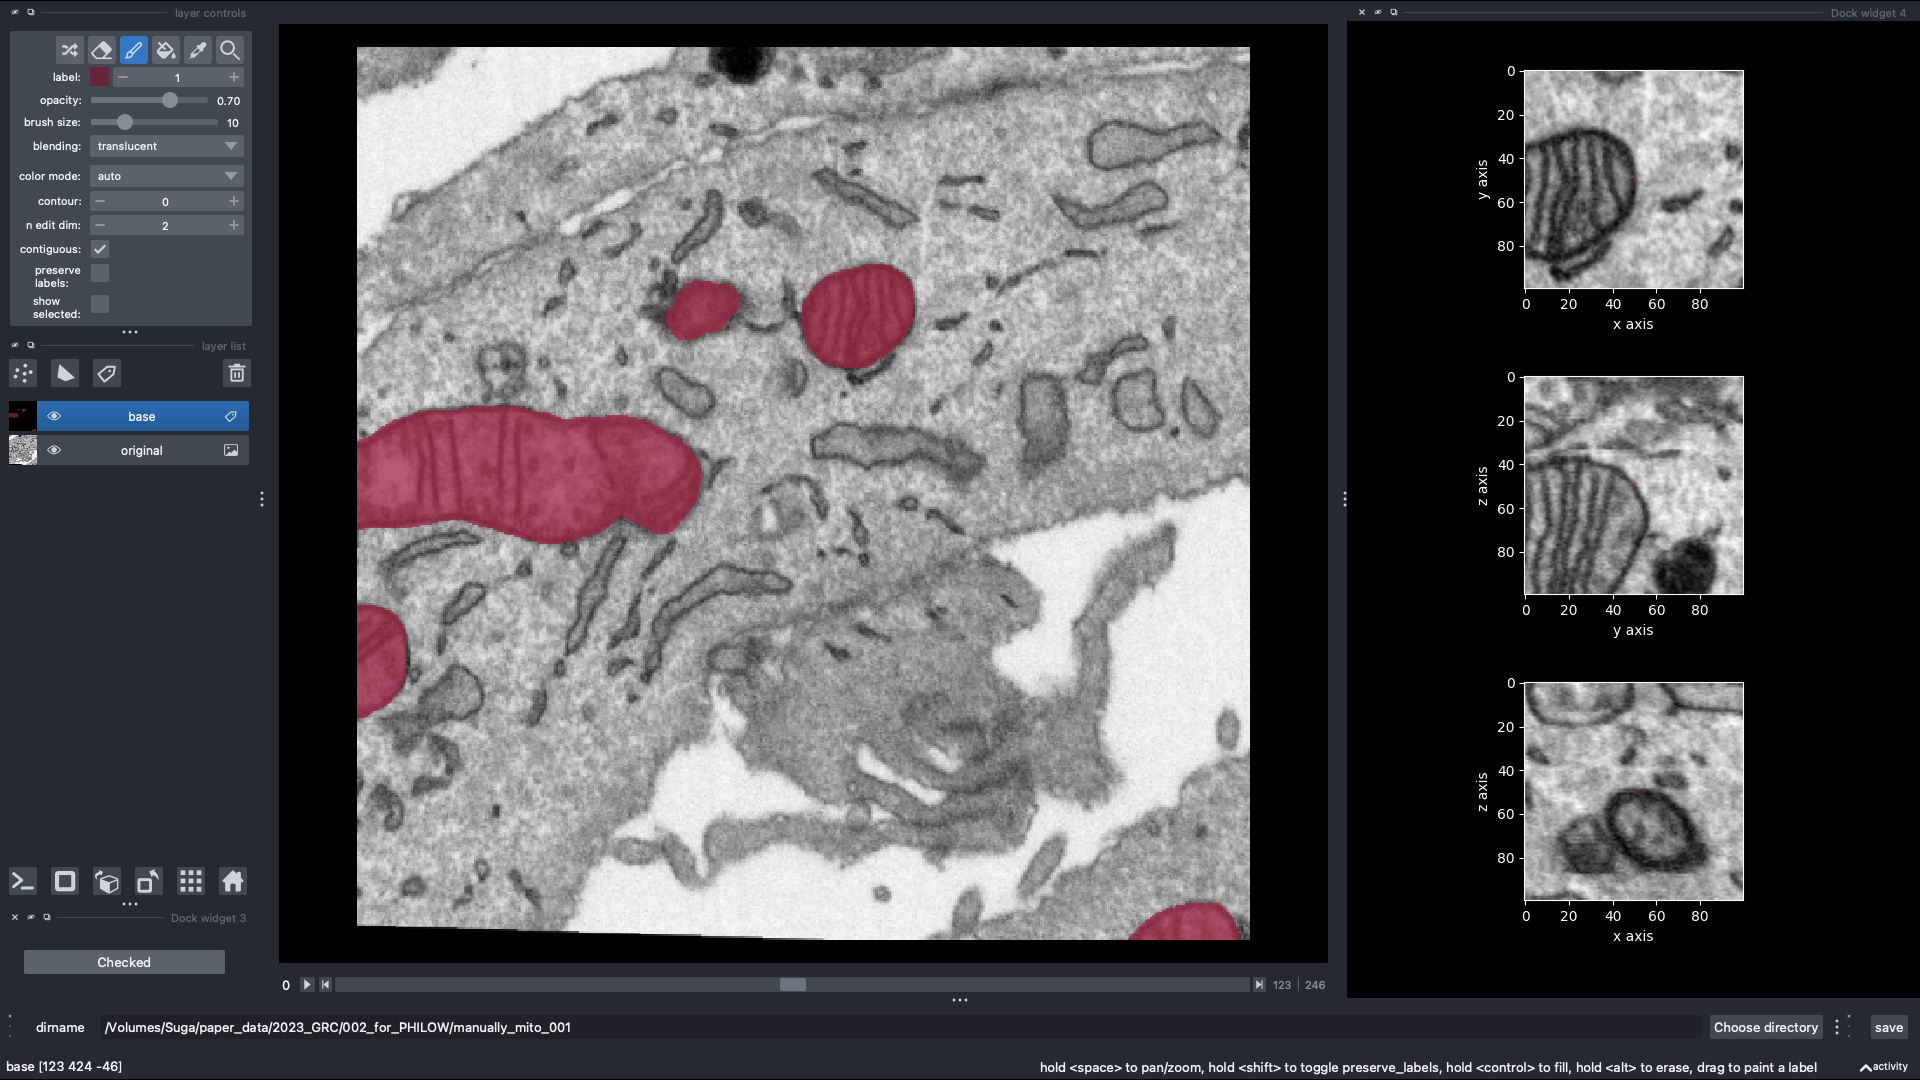
Note
Create a label with the brush function. more information → https://napari.org/tutorials/fundamentals/labels.html
2.2. Training Mode
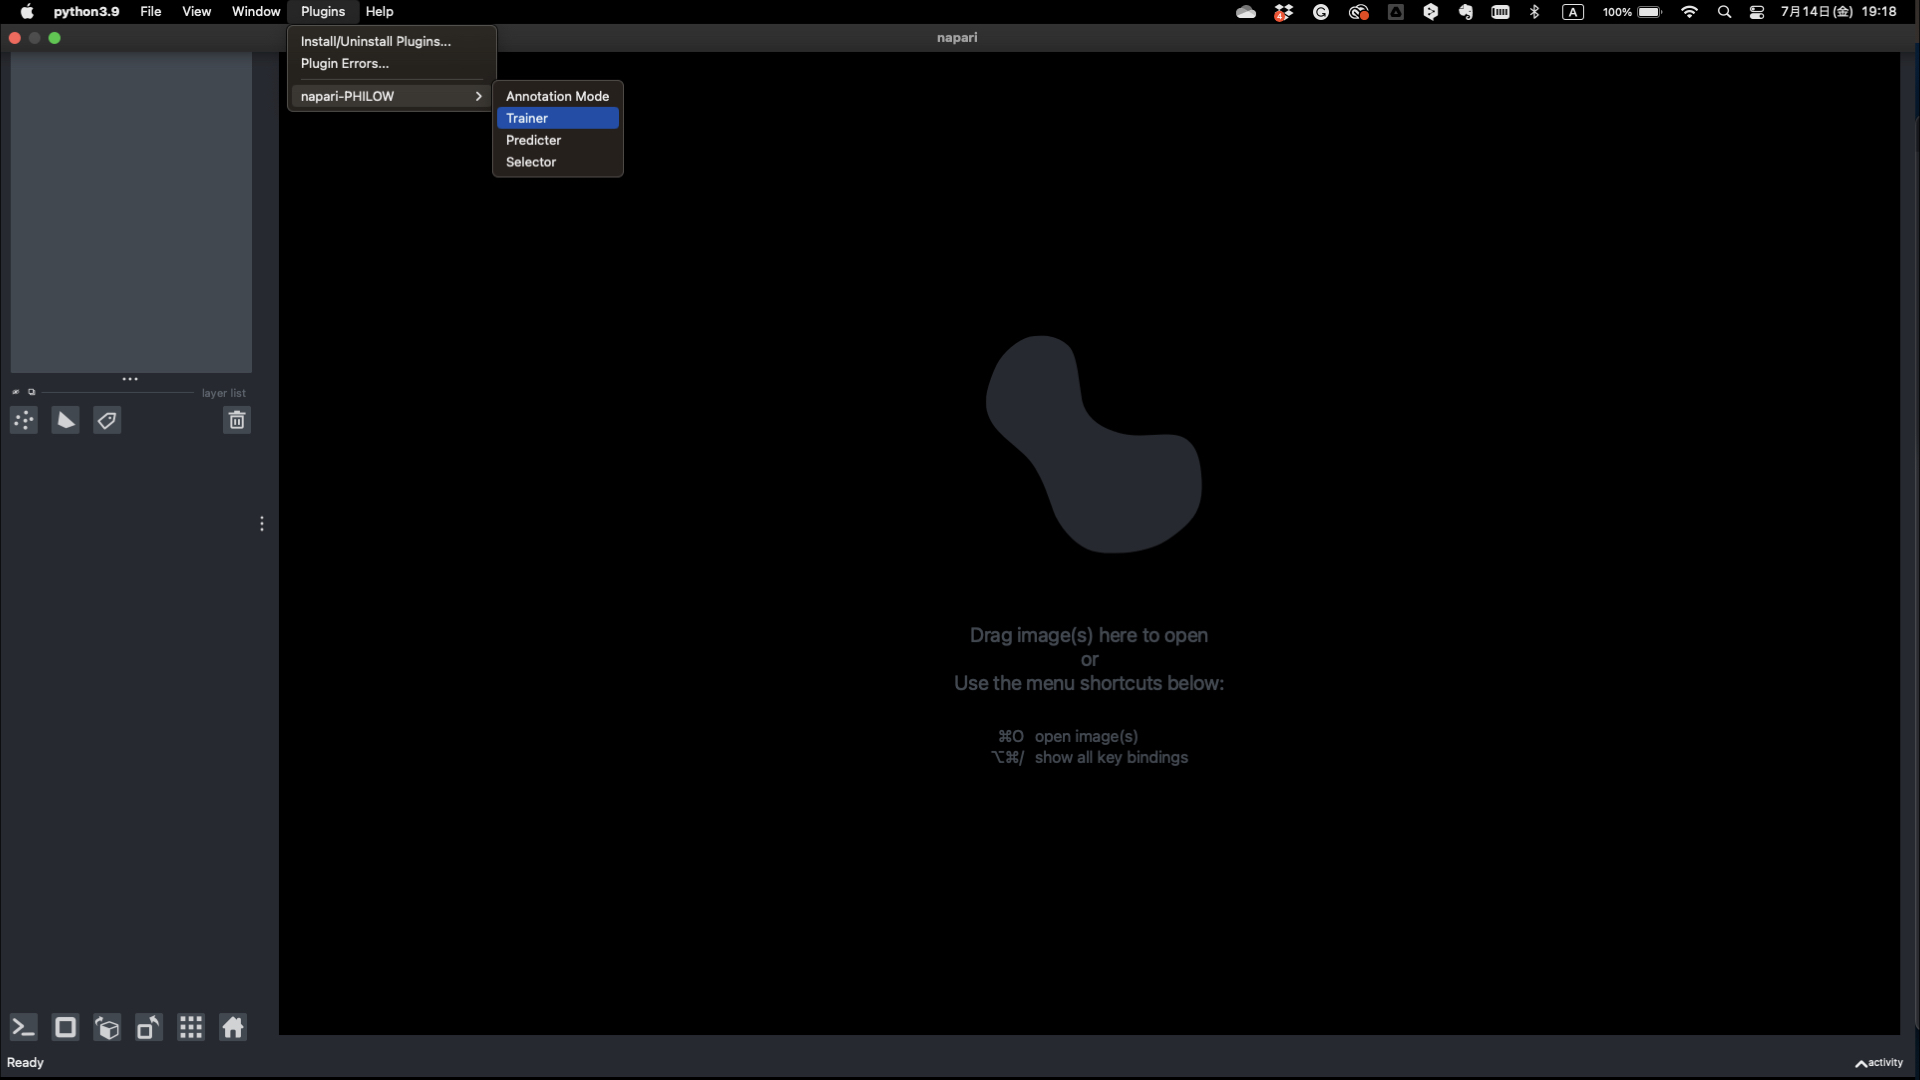
2.2.1. Launch napari
napari
2.2.2. Load dataset
Plugins > napari-PHILOW > Trainer
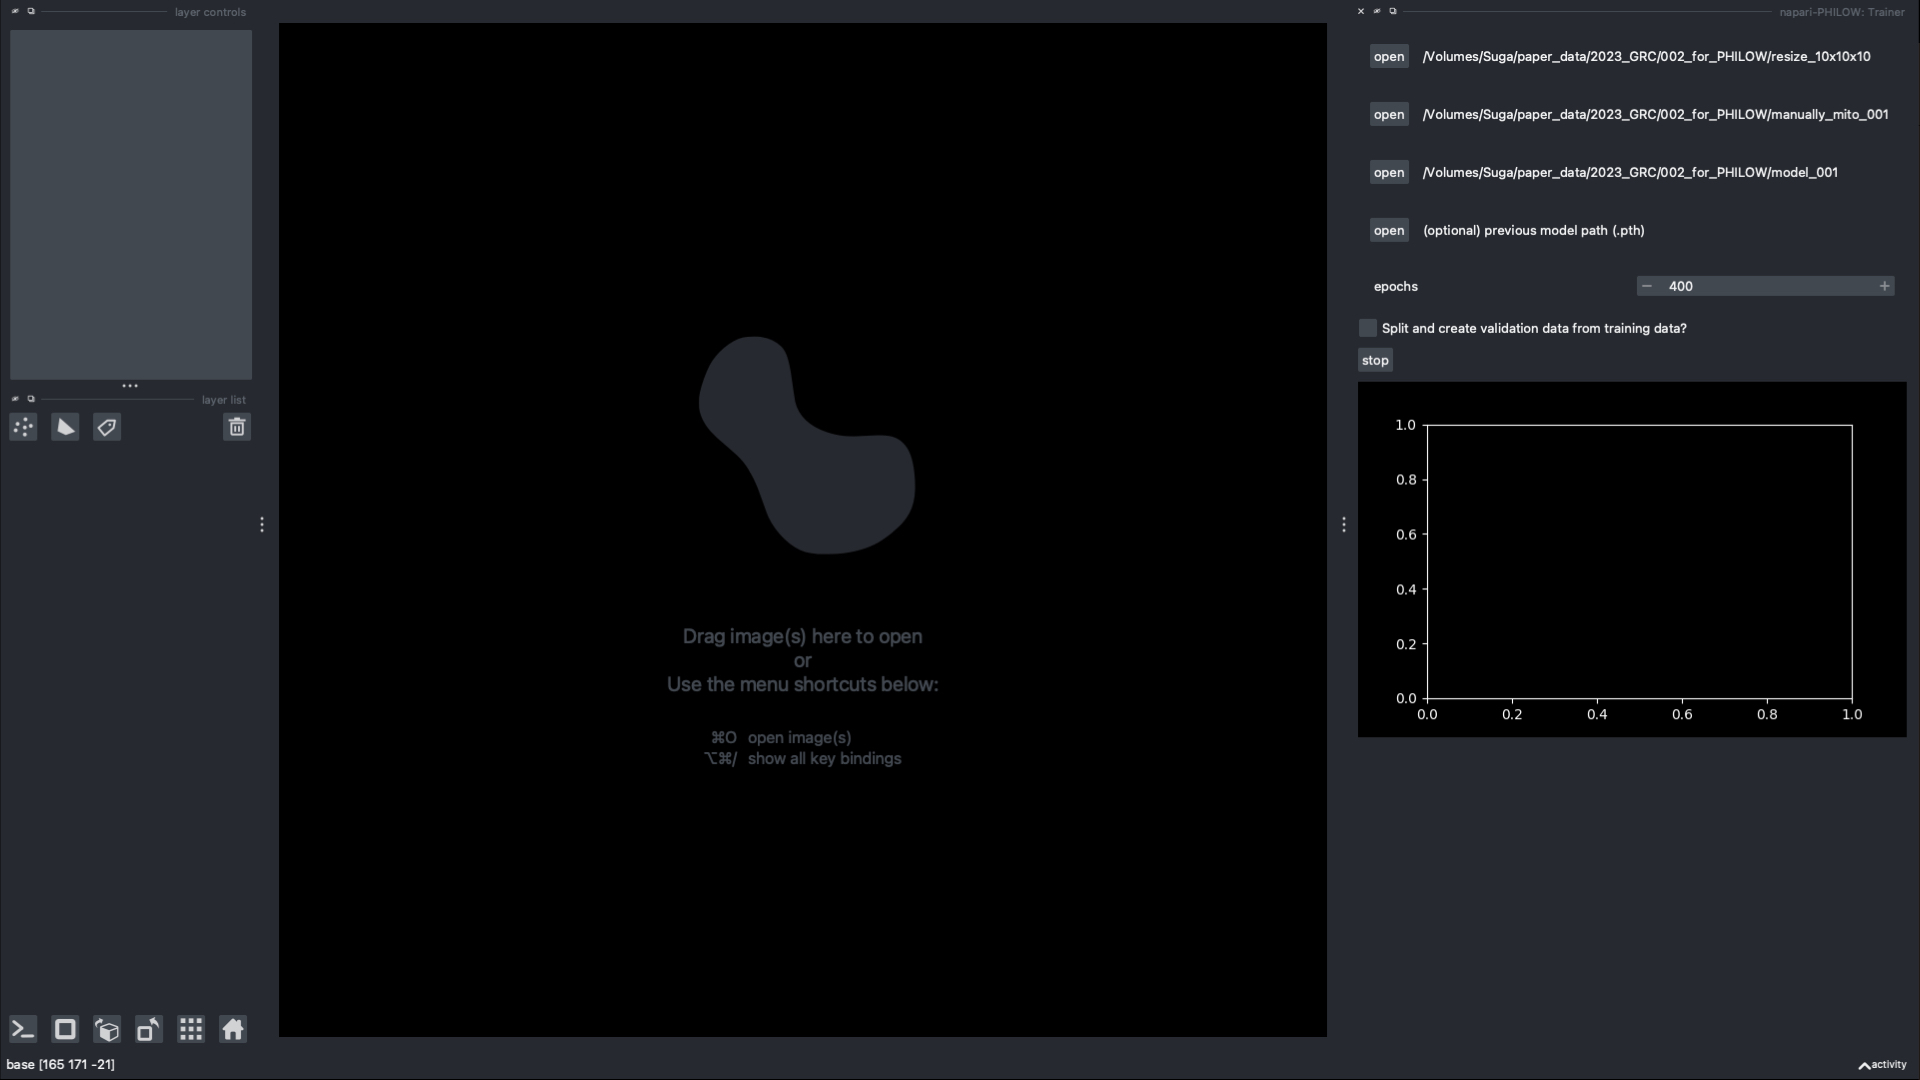
Select original dir
Note
All slices must be in separate PNG and must be sequentially numbered (e.g. 000.png, 001.png …).
Select labels dir
Note
All label images should be named same as original images and contains data management csv file.
Select dir for save trained model
2.2.3. Train the model
Click on the “start training” button
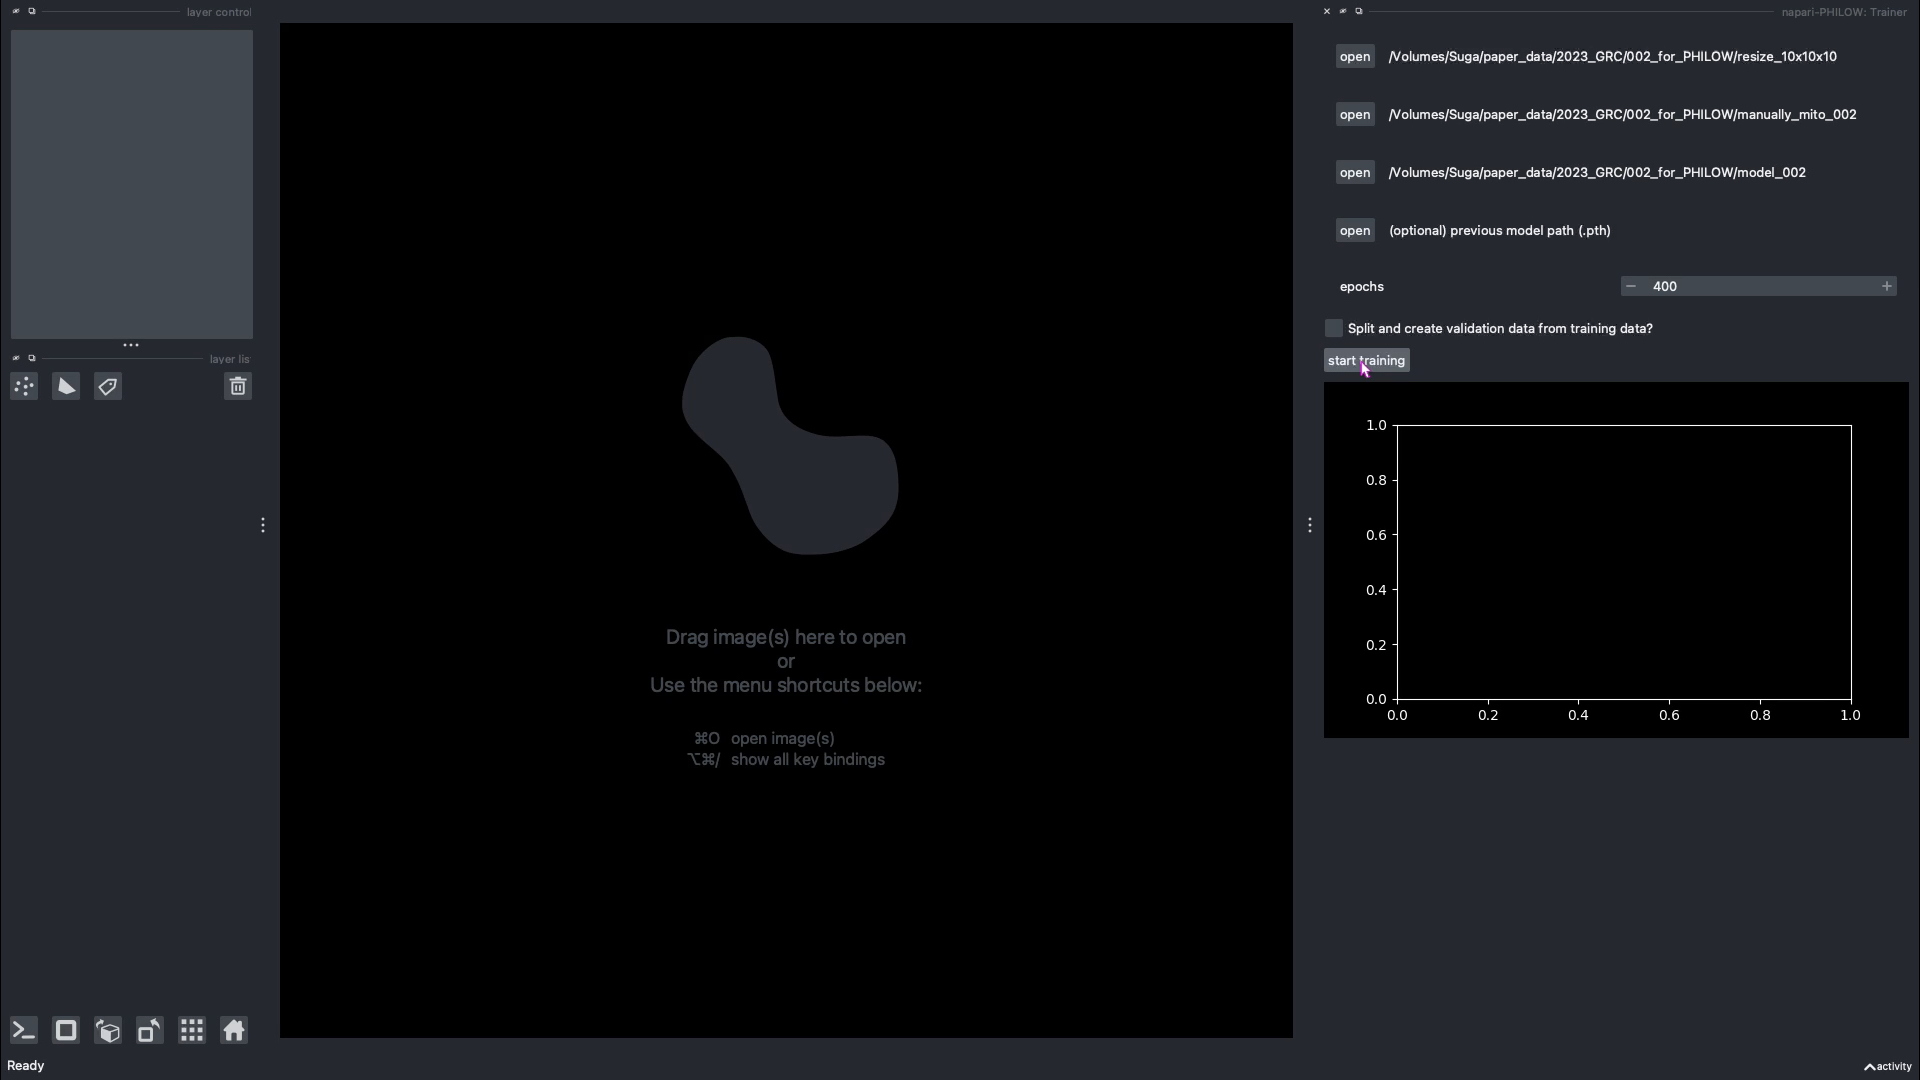
Dice loss score and the predicted results are displayed.
Note
For more detail, check the command line for the progress of training. If you want to stop in the middle, click stop button.
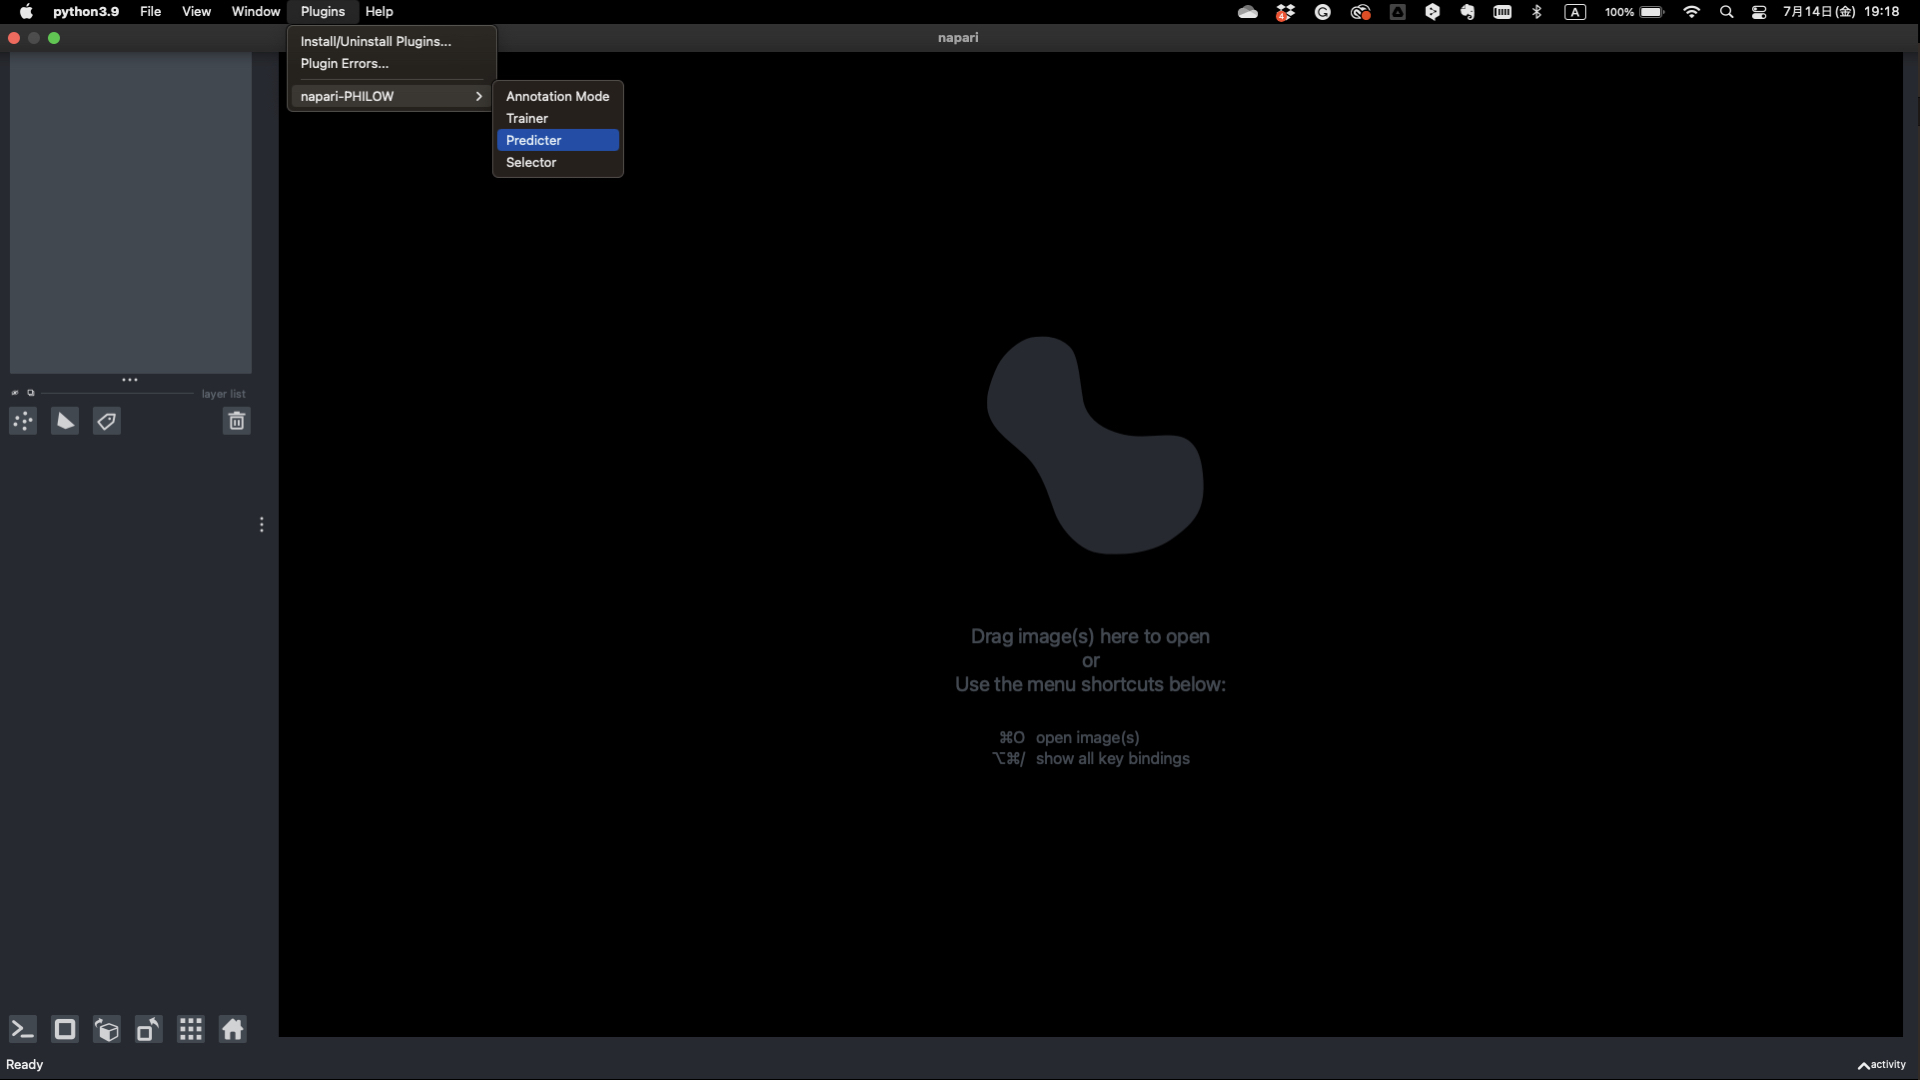
2.3. Prediction Mode
2.3.1. Launch napari
napari
2.3.2. Load dataset
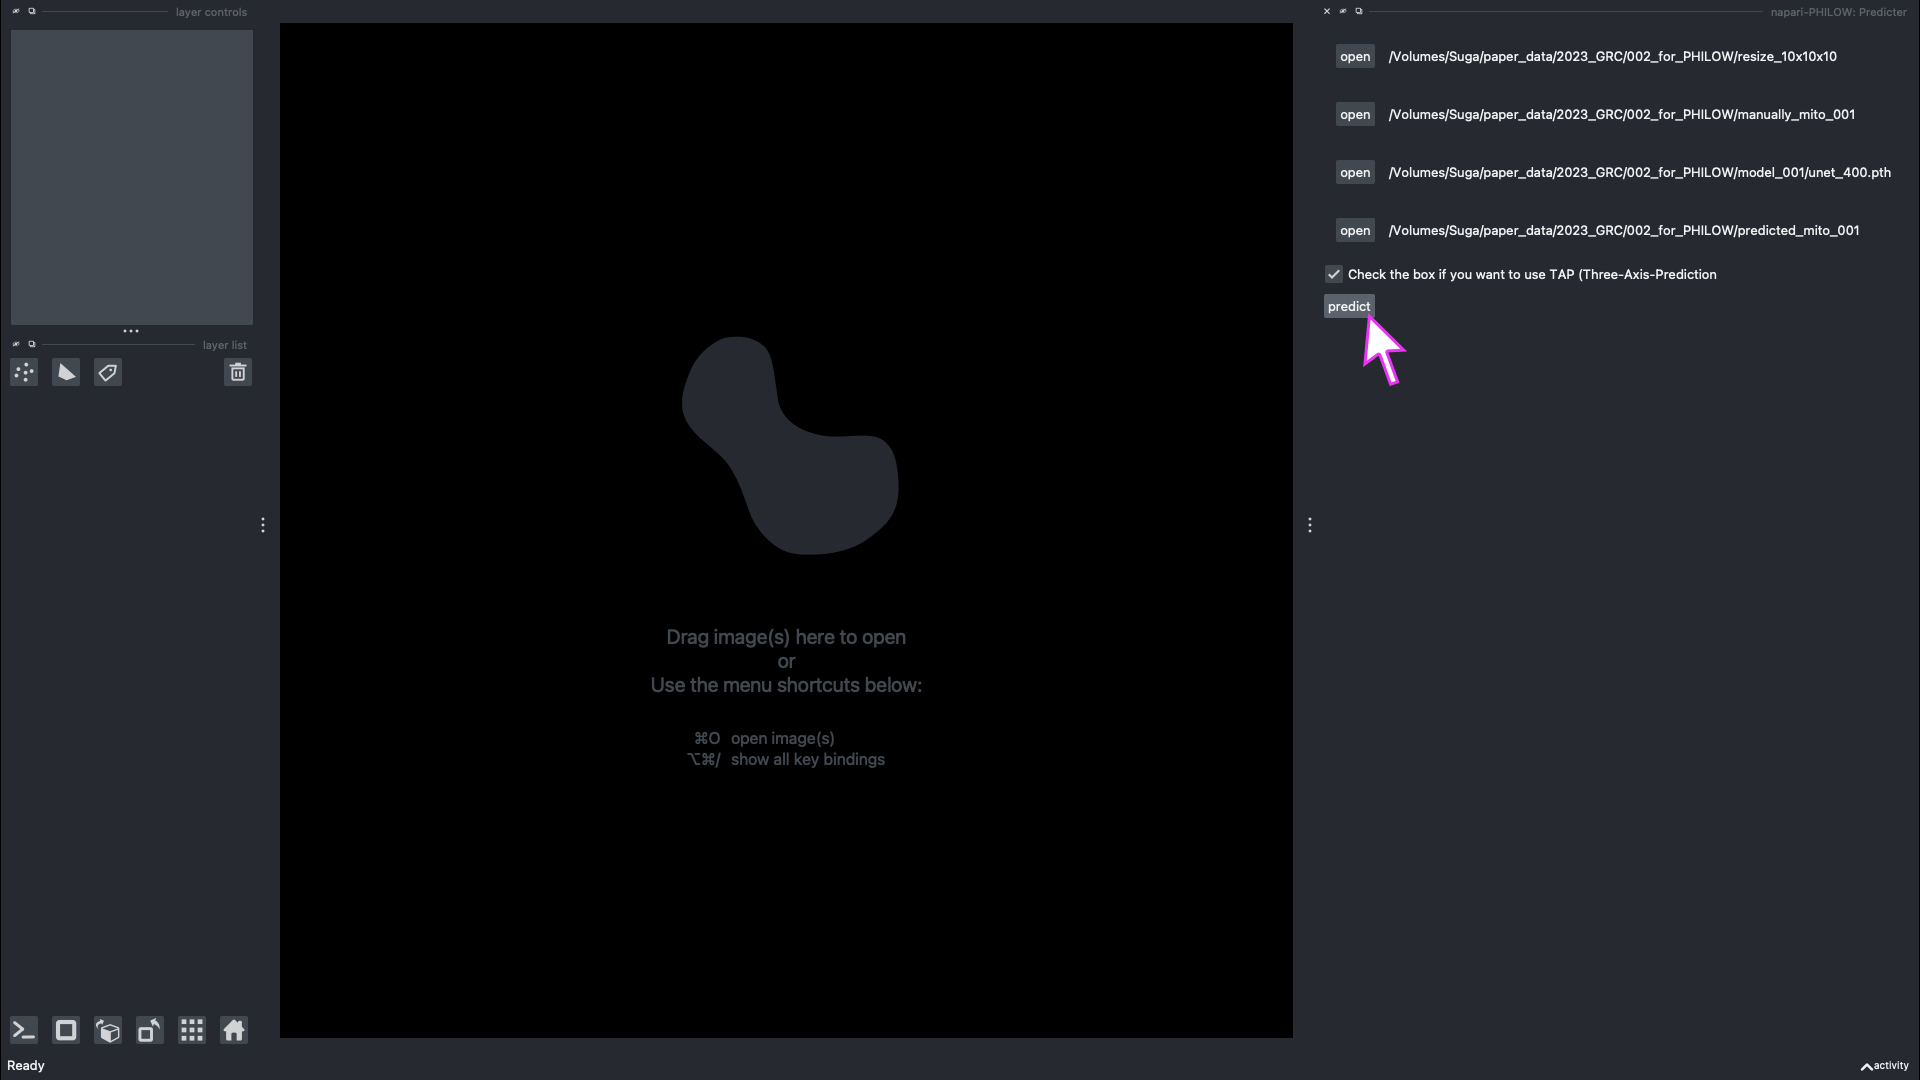
Plugins > napari-PHILOW > Predicter
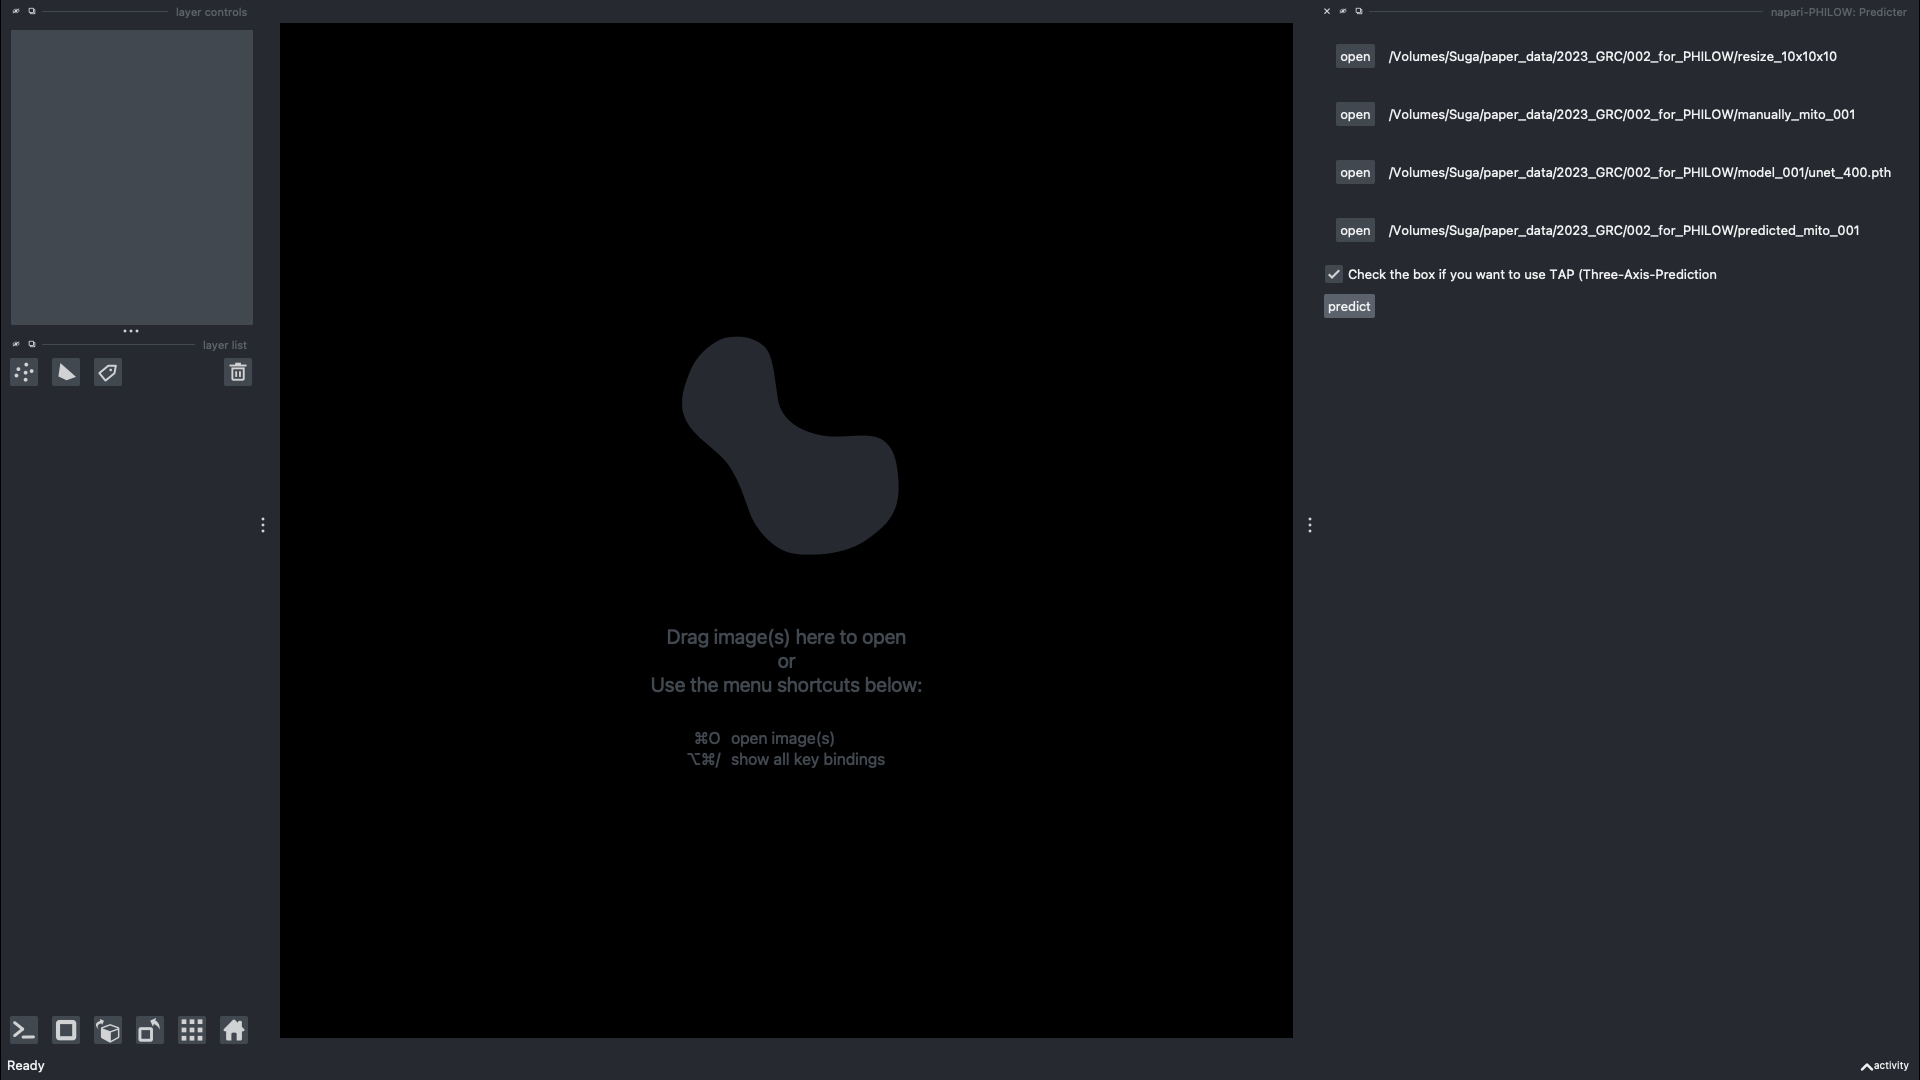
Select original dir
Note
All slices must be in separate PNG and must be sequentially numbered (e.g. 000.png, 001.png …).
Note
Select labels dir if you want to keep labels which were used on training, and data management csv file
Select model dir contains hdf5 file
Select output dir for predicted labels
Uncheck the box if you DO NOT want to use TAP (Three-Axes-Prediction)
2.3.3. Predict using the model
Click on the “predict” button
Note
Check the command line for the progress of prediction. If you want to stop in the middle, use ctrl+C.
Note
You can start the next round of annotation by selecting the merged_prediction directory as the mask dir in Annotation mode.